


Owners of Jeep JT Gladiators are no stranger to the woods and trails, and off-roading ranks high among the most popular forms of outdoor recreation for which these vehicles are practical and popular. Enjoying the trail, however, requires some specialized accessories and gear, such as practical auxiliary lighting. In this short article, we’ll provide a quick tutorial on how to mount a Jeep light bar to the bumper of a 2020 JT Gladiator.
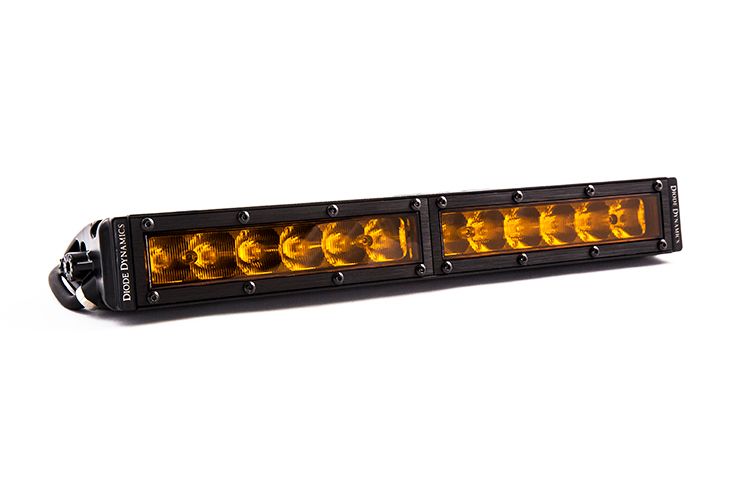
This installation tutorial covers mounting one of Diode Dynamics’ LED light bar kits for a 2020 Jeep Gladiator, compatible with one of their 30” Stage Series Jeep light bars. These light bar kits are CAD-designed for direct fitment to factory mounting points on a 2020 Jeep JT Gladiator, come with all the mounts and hardware that you need and do not require owners to make any permanent modifications to their drills.
The installation can be completed at home with basic hand tools and should take only a short while to complete. To begin, you’ll need a prying tool like a plastic trim removal tool to remove the eight plastic rivets on the bumper cover. Remove the cover and set it aside.
Next, using a ⅝” wrench, break loose the bolts on the bumper support bar and remove them. After the bolts have been removed, you can install the mounting brackets over the stud from which you removed the bolts, then secure the mounting brackets using the same bolts that you just removed and tighten them.
While you won’t be replacing the plastic bumper cover that you previously removed, you will need to reuse two of the plastic rivets. Take the plastic washer that was included with the Jeep light bar kit, slide it over the plastic rivet, and then install it over the bracket to secure it.
Now you can install your Stage Series 30” Jeep light bar onto the mounting brackets. Line up the mounting points on the light bar with the pre-drilled holes in the brackets and secure the light bar to the bracket using the included hardware and a 10mm wrench or socket.
Next, complete the wiring using the included wiring harness that comes with the kit. This wiring harness is specifically designed for Jeeps that have an auxiliary switch panel. To complete the wiring, locate the four power wires behind the battery; one of these will be a 40 amp wire with brown insulation (which is connected to the “Number 1” auxiliary switch.
First, remove the nut from the grounding point, connect the ground wire and reconnect the nut. Then, strip some of the brown 40 amp wire, connect it to the butt end connector, crimp it to secure the connection, and tuck it out of the way. Before closing everything up, test the “Number 1” auxiliary switch to ensure that the light is working.
To learn more about these products, or to get help with installation, visit DiodeDynamics.com or contact a member of their team at 314-205-3033. They can provide you with additional materials and information regarding their light bars, mounts and kits.