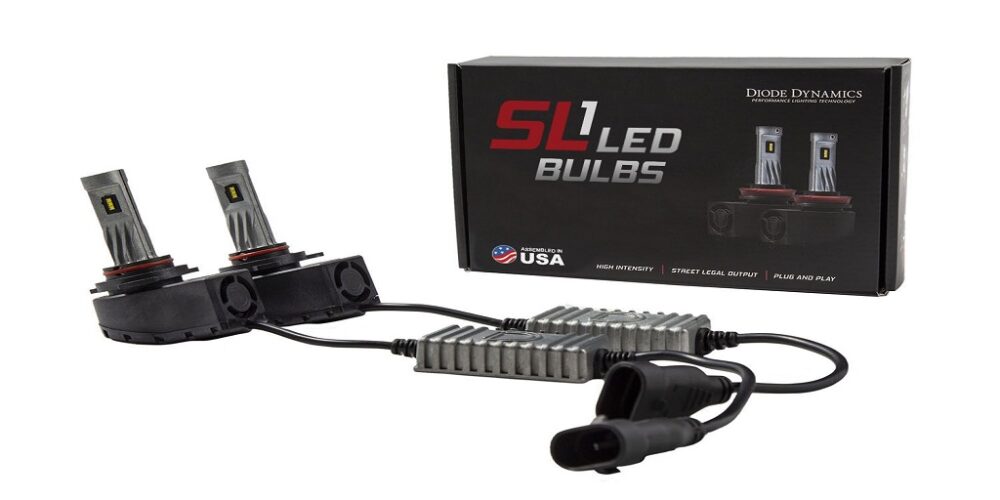
We can’t blame you for gravitating toward the SSC2 or even the Stage Series 3 LED Pods available at Diode Dynamics. They are the brightest, most durable, most reliable LED pods in their class, and have a wide range of applications, from auxiliary work lights, to reverse lights, to fog lights and even as ditch lights.
On that note, Diode Dynamics also sells a variety of vehicle specific mount kits that are ideal for adding ditch lights to your vehicle, using these LED pods. This article will take you through the quick steps necessary to add ditch lights to your Chevy Silverado. It applies to vehicles produced between 2014 and 2018.
The hardware ditch light mount kits that Diode Dynamics provides are made of thick-gauge stainless steel and have a low profile, for extreme durability and corrosion resistance. They’re also specifically designed to mount to existing mounting points so you don’t need to make any permanent modifications to your vehicle. All you need to complete the installation are basic tools.
The first thing you’ll need to do is pop the hood and then mark where the hood hinge mounts to the hood so you can maintain the alignment through this installation. You can also tape around the edge of the hood just to make sure nothing gets scratched.
The platform at the top of the bracket should face away from the vehicle during the installation. You’ll need a 13mm socket to loosen the two bolts on the hood hinge. There’s no need to remove them completely; just loosen them enough to slide the bracket in between the hood hood hinge and the bolt and washer that will secure it.
Slide the bracket under the hood and between the hood hinge and the bolt and washer as stated. Make sure that there is an even gap between the hinge and the bracket. Before tightening the bolt down on the bracket and hood hinge, check to make sure that the hood has not moved from its proper alignment.
Using the 13mm socket wrench, tighten the bolts down after you’ve verified that everything is in order and where it needs to be. After conducting this portion of the installation, complete your wiring and secure the exposed wires to the mounting bracket if you so choose.
If you are using the universal bracket to mount the SSC2 Light Pod to the ditch light bracket, take the universal bracket, place it on top of the ditch light bracket, thread the included bolt through the slot, along with the washer, lock washer and nut.
Now affix the SSC2 Light Pod itself to the top of the bracket. Place it on top of the bracket, and then secure it with the included bolt. Thread on the included lock nut in order to tighten the connection between the SSC2 and the SSC2 mounting bracket. Tighten down the hardware, switch on the light, and make your final aiming adjustments before tightening all of the hardware. Remove your marking tape and repeat the process on the other side of the vehicle.
To learn more about these ditch lights, light pods or kits, visit Diode Dynamics at DiodeDynamics.com to use their Vehicle Finder tool, or contact them at 314-205-3033 or at [email protected].


